Art Challenge: Secret Santa
For this animation, we were tasked by our friend to create an artwork for a random person in the group. I decided to work on an animation for this art challenge as I wanted to expand on my knowledge in terms of physics and camera angles within a certain amount of time.
Who was this random person?
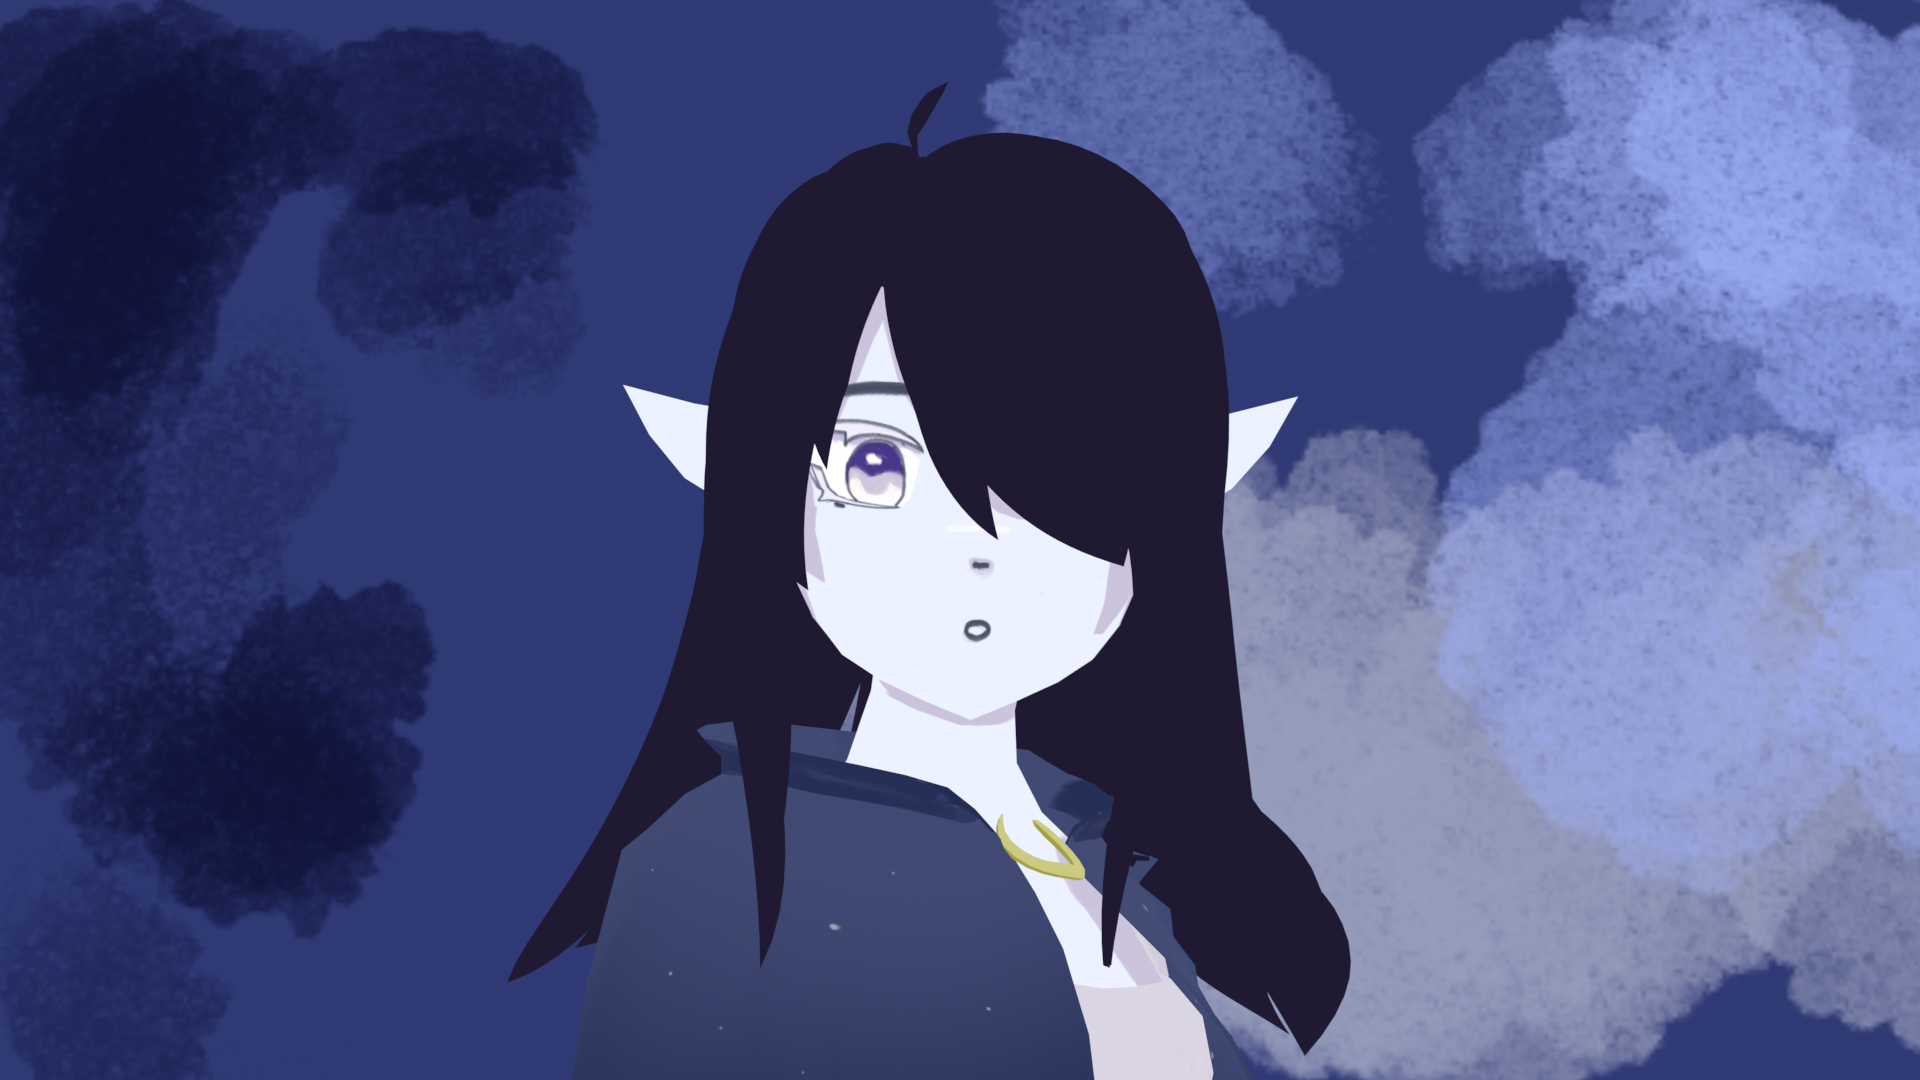
The person who I got was Endi (This is one of Cam’s characters).
Endi is a DnD character and if I’m gonna be honest I forgot a lot of the lore of their character. I should have probably asked a bit more about the character but I also played their sessions and I felt weird if I asked again.
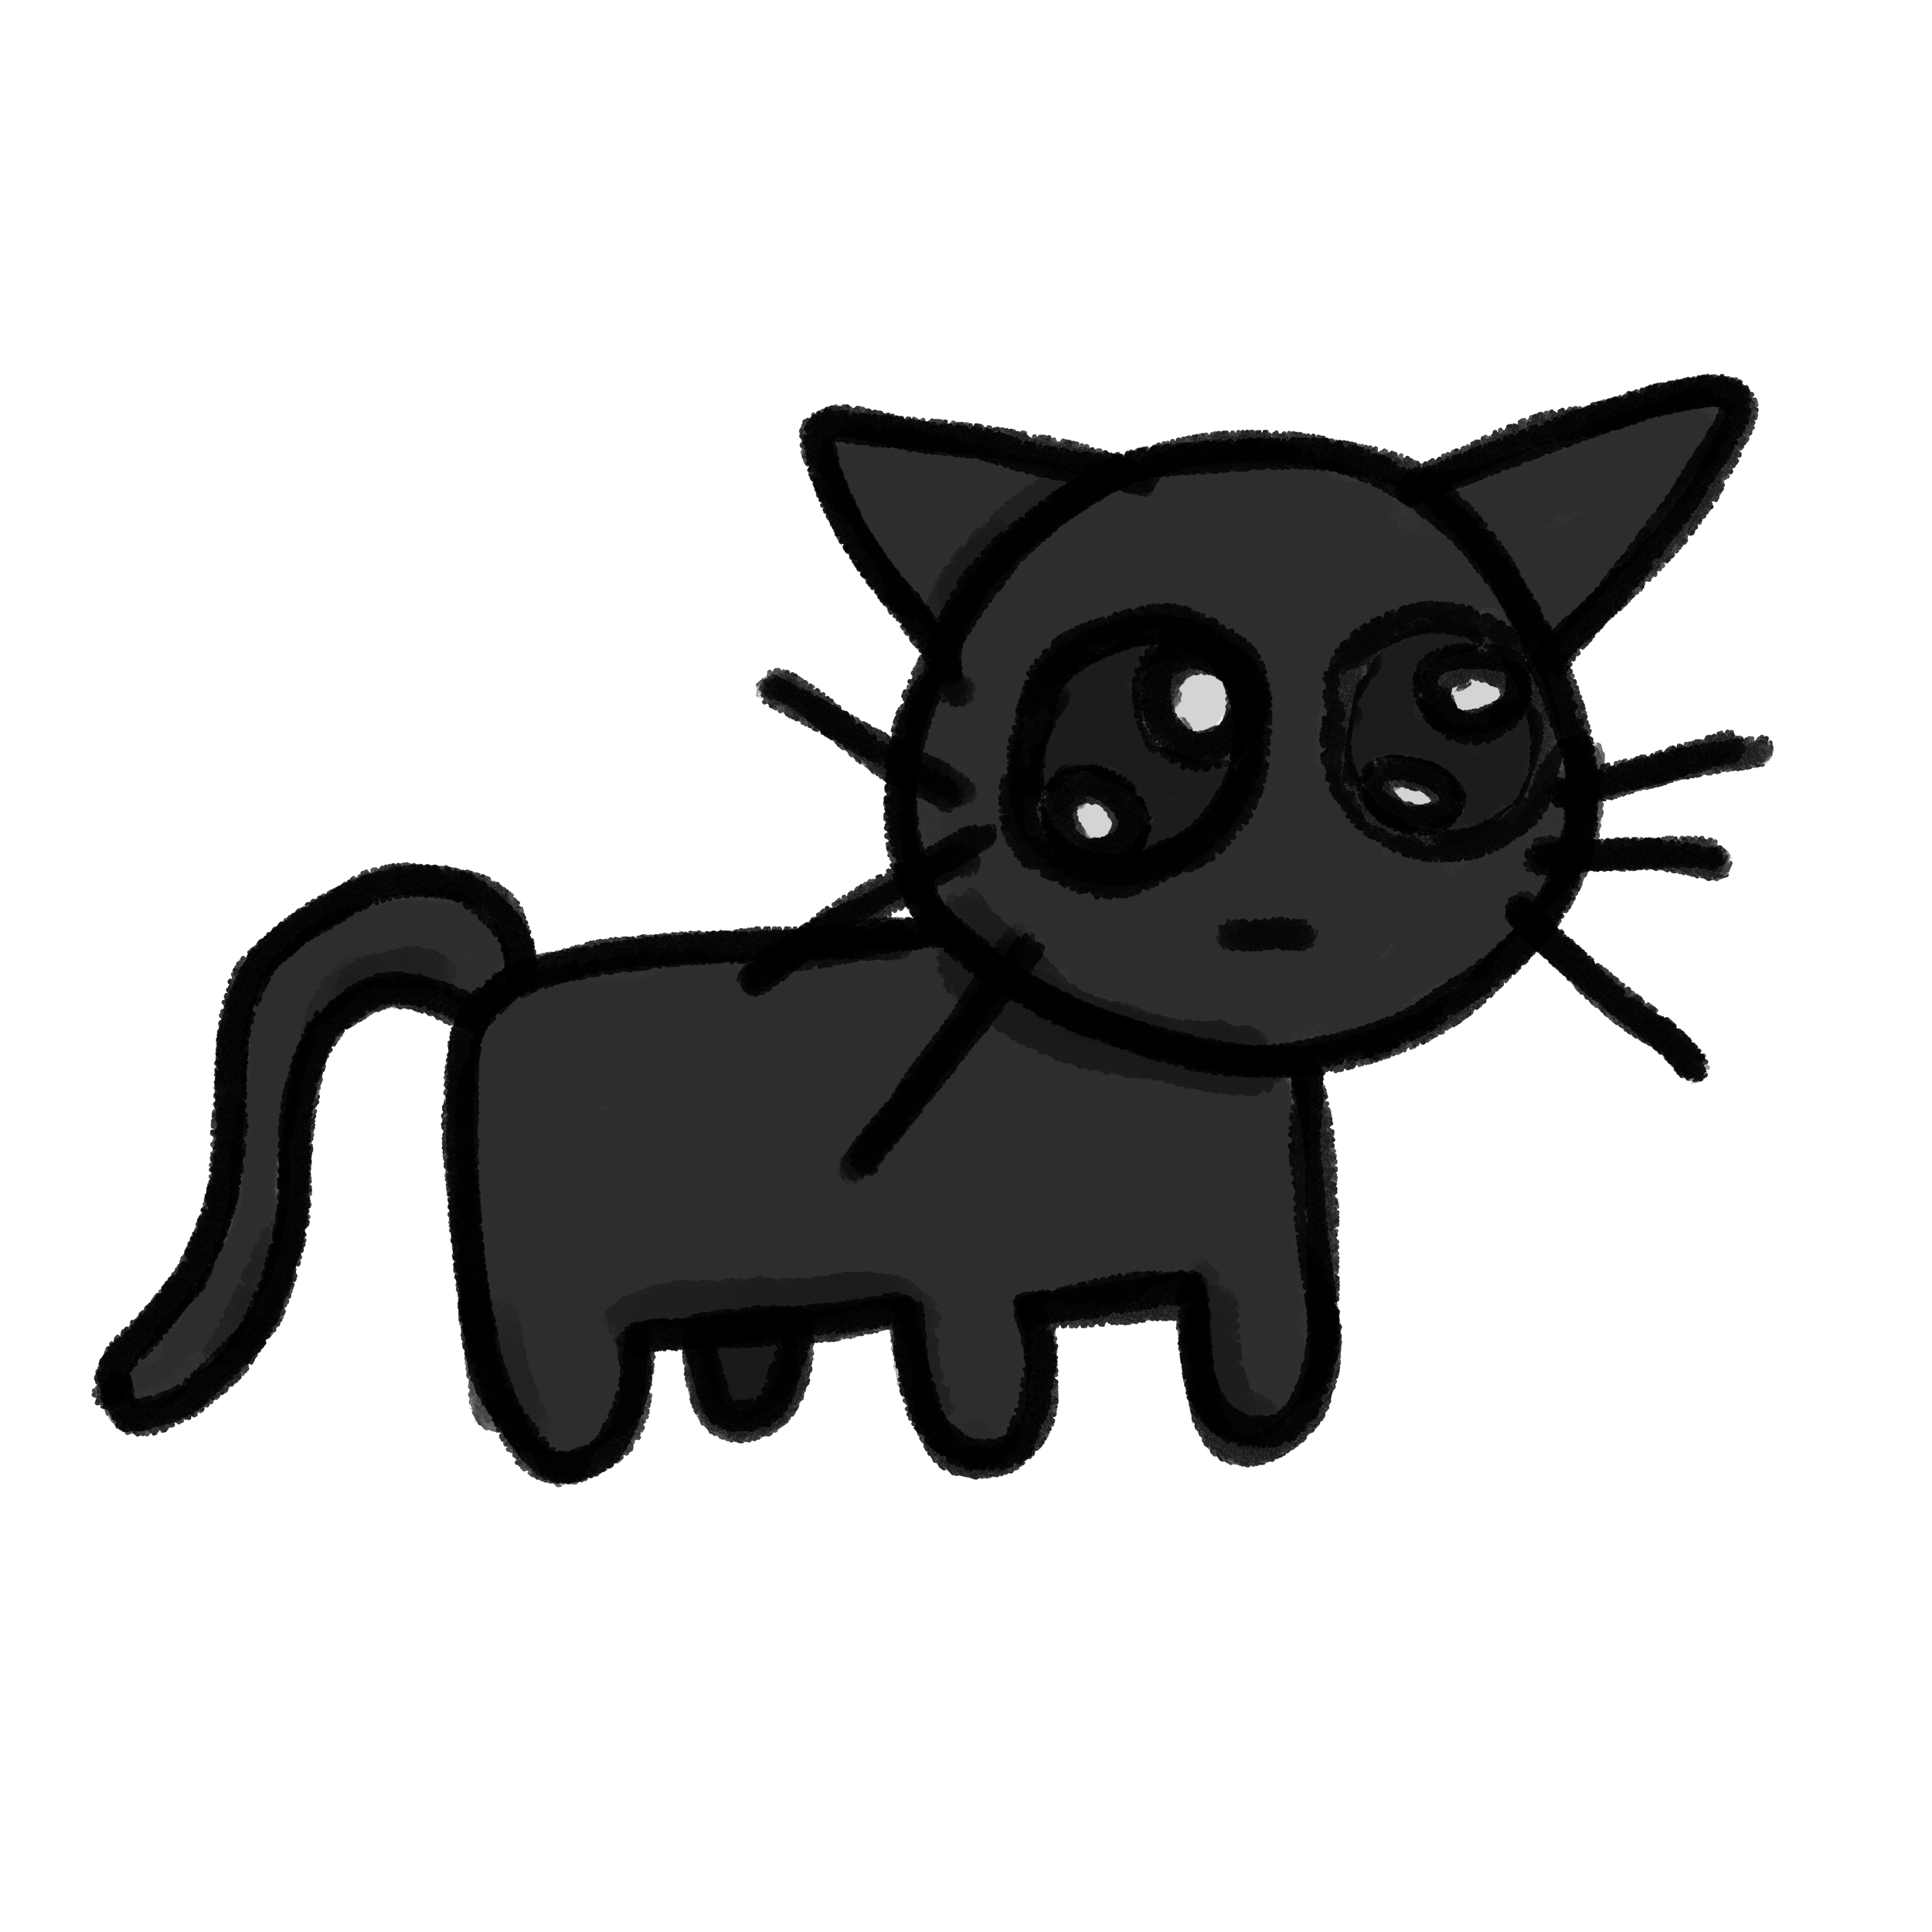
Anyhow, the animation I envisioned was of Endi and her cat meeting up for the first time, the first time we see the character in our DnD session.

Part 1:
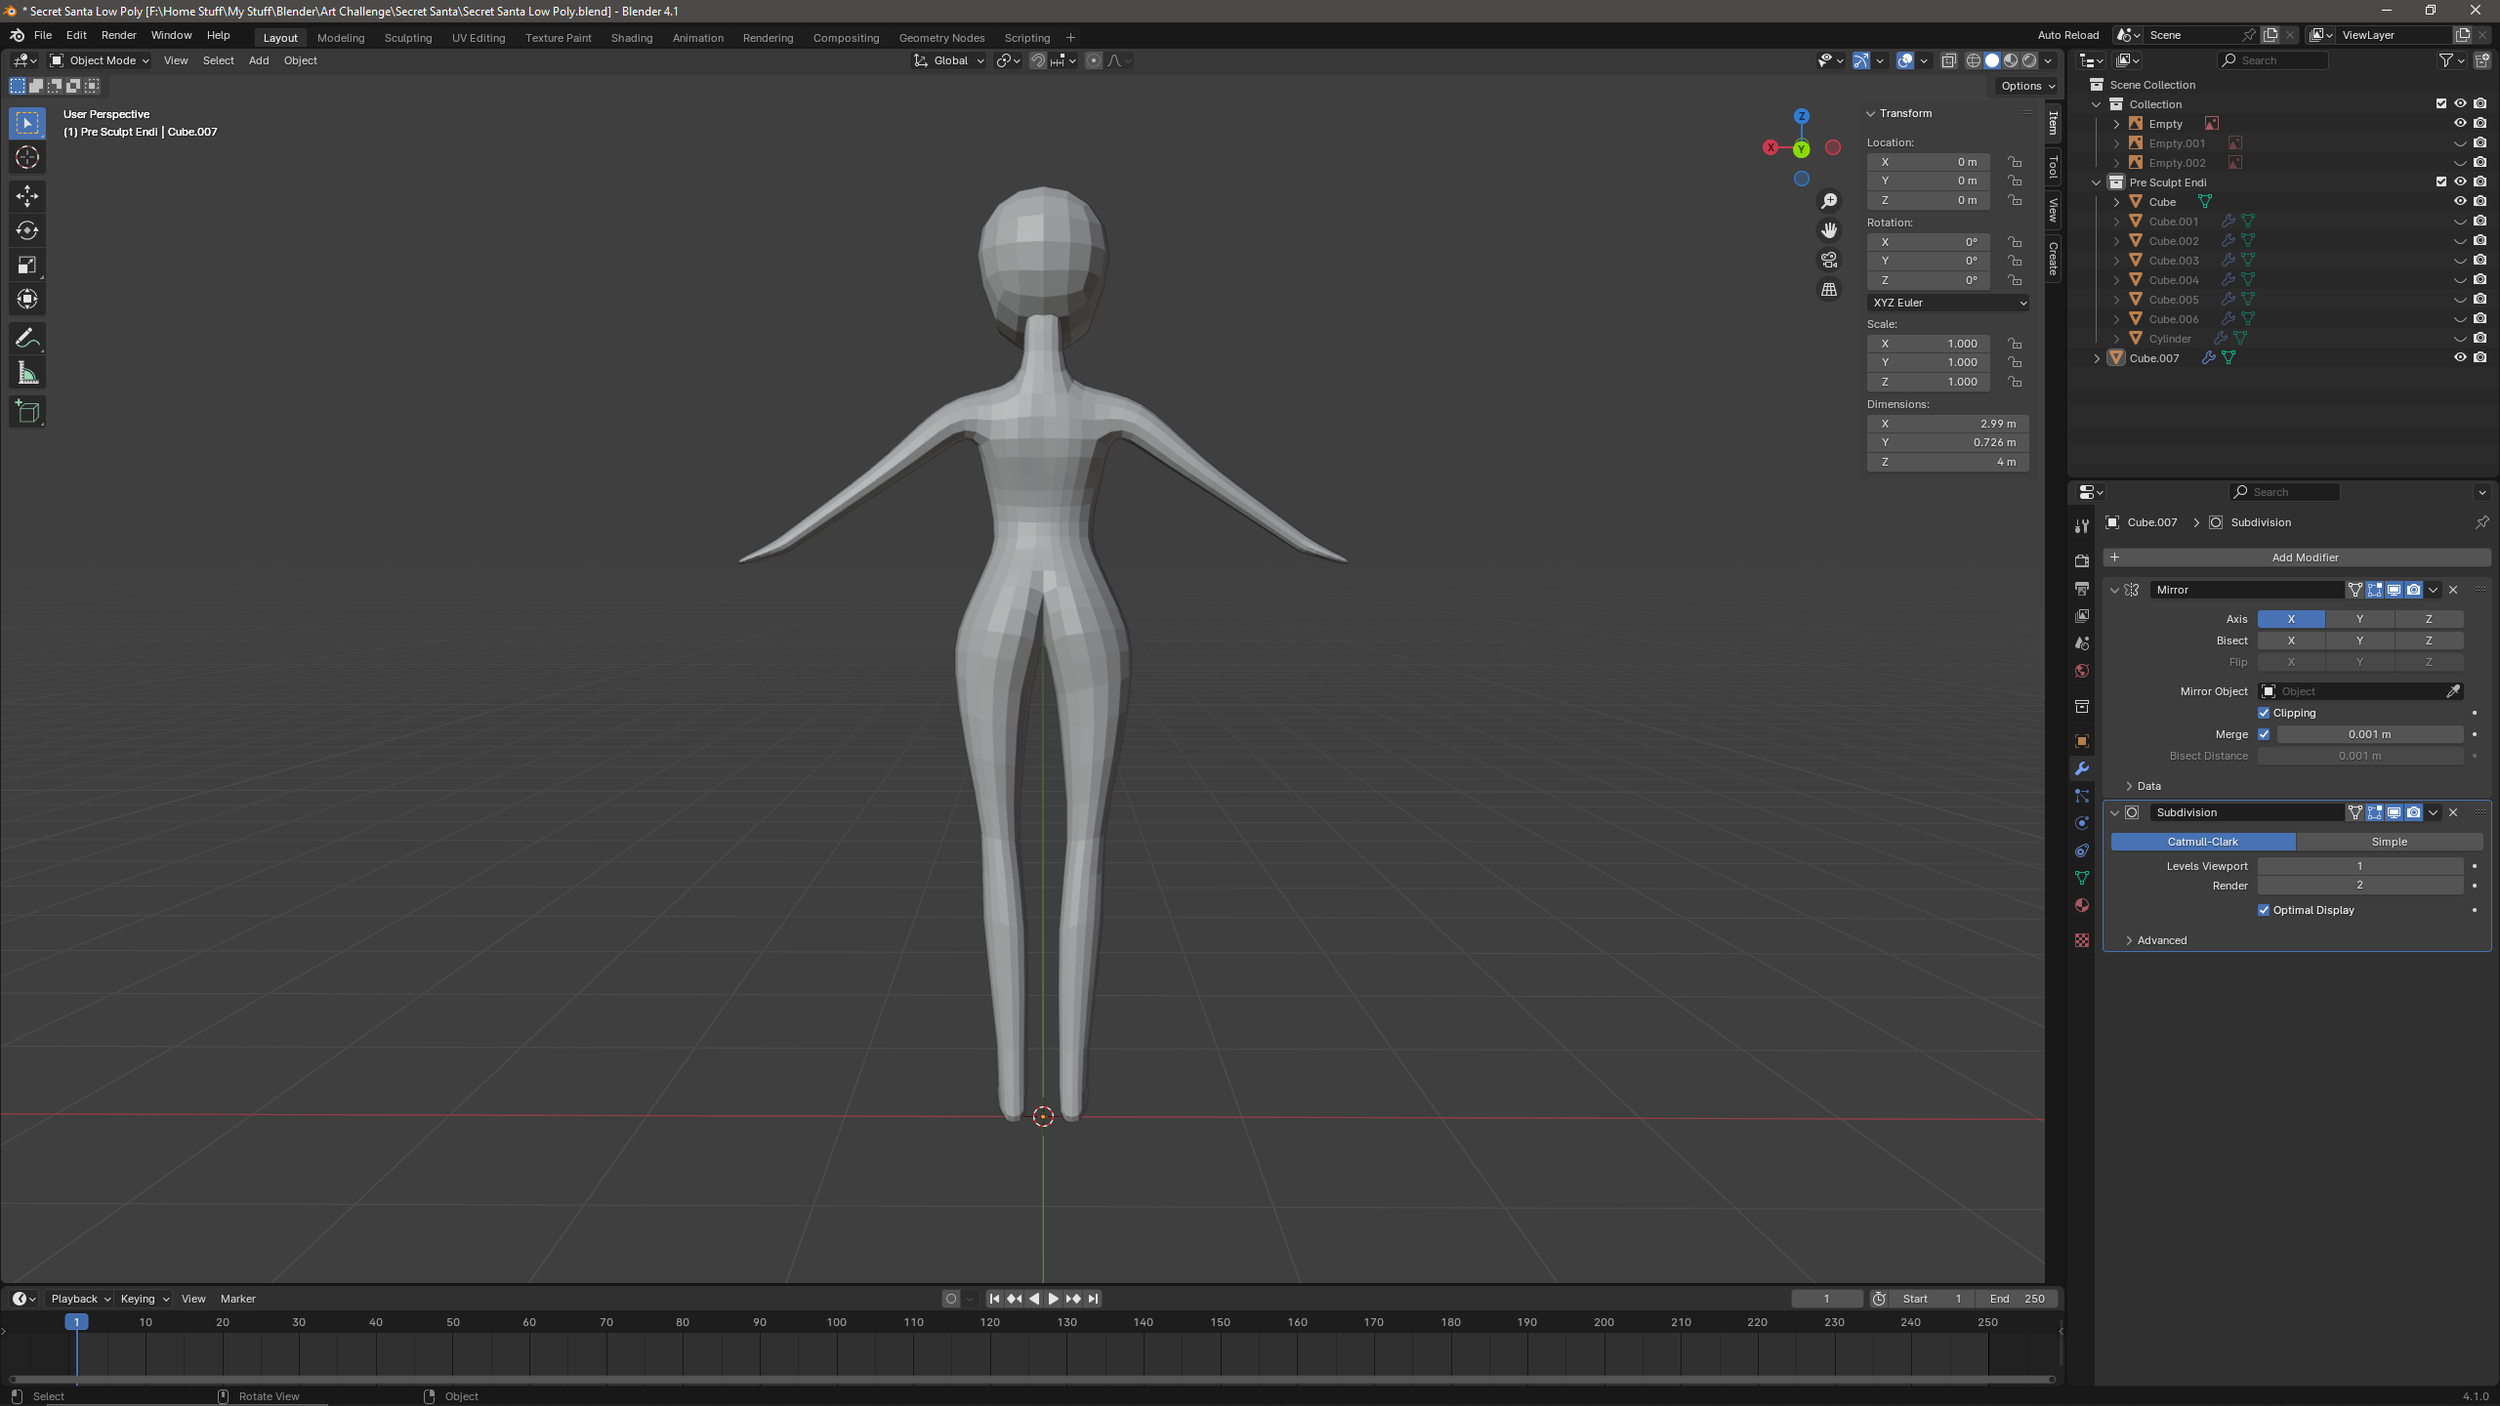
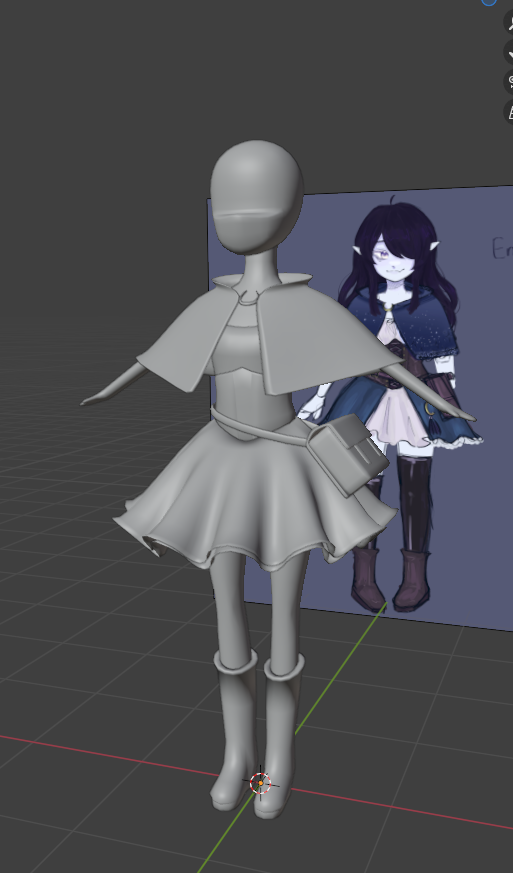
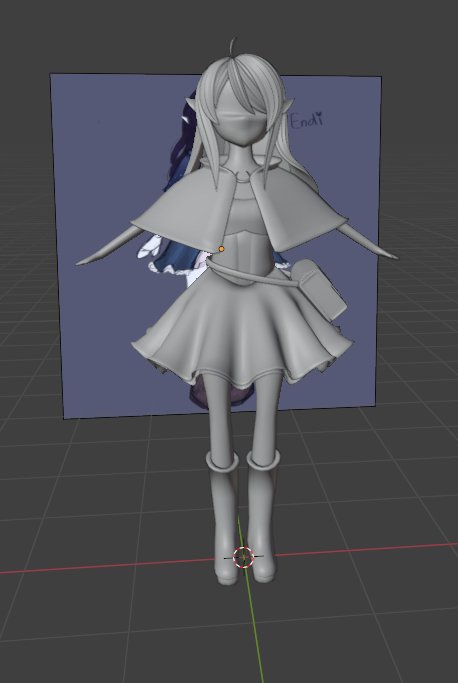
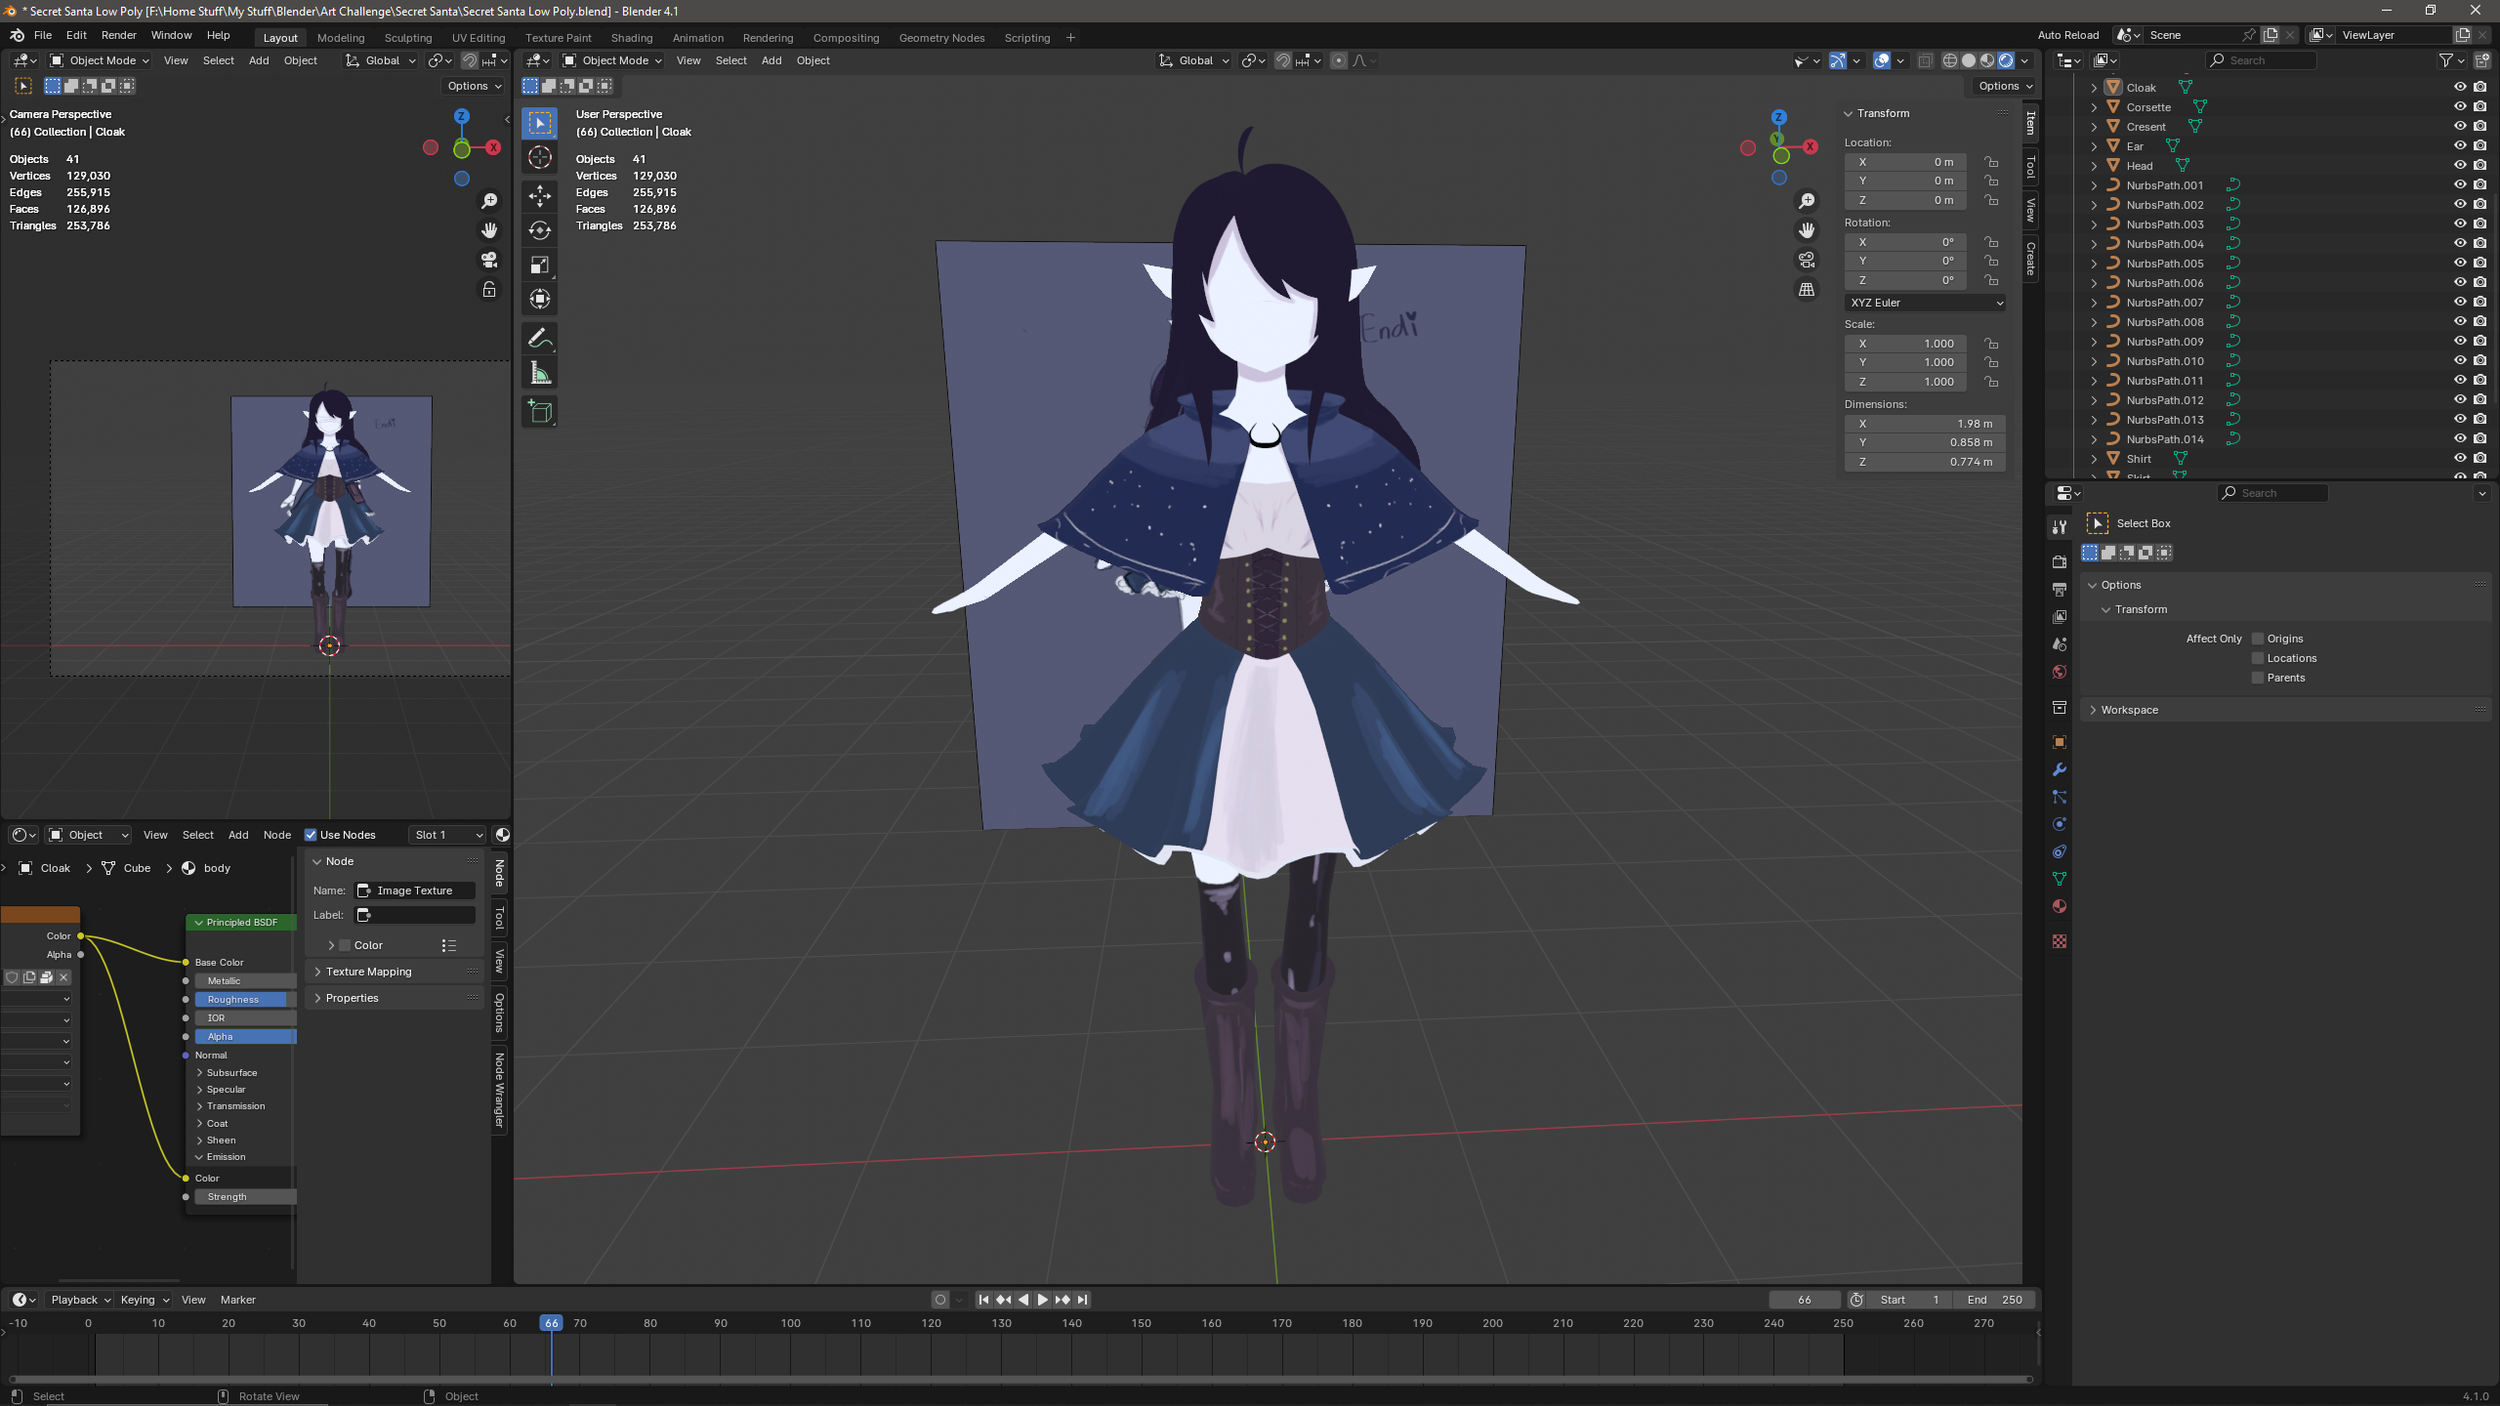
Modelling Stage
The first part I did was to create the model. I was having trouble with if I should focus on a low-poly or if I should make it a high-poly model. I then told myself “eh, who cares its not like its gonna be in a video game its more like a personal animation project” so I went a bit buck wild on this one.

Part 2:
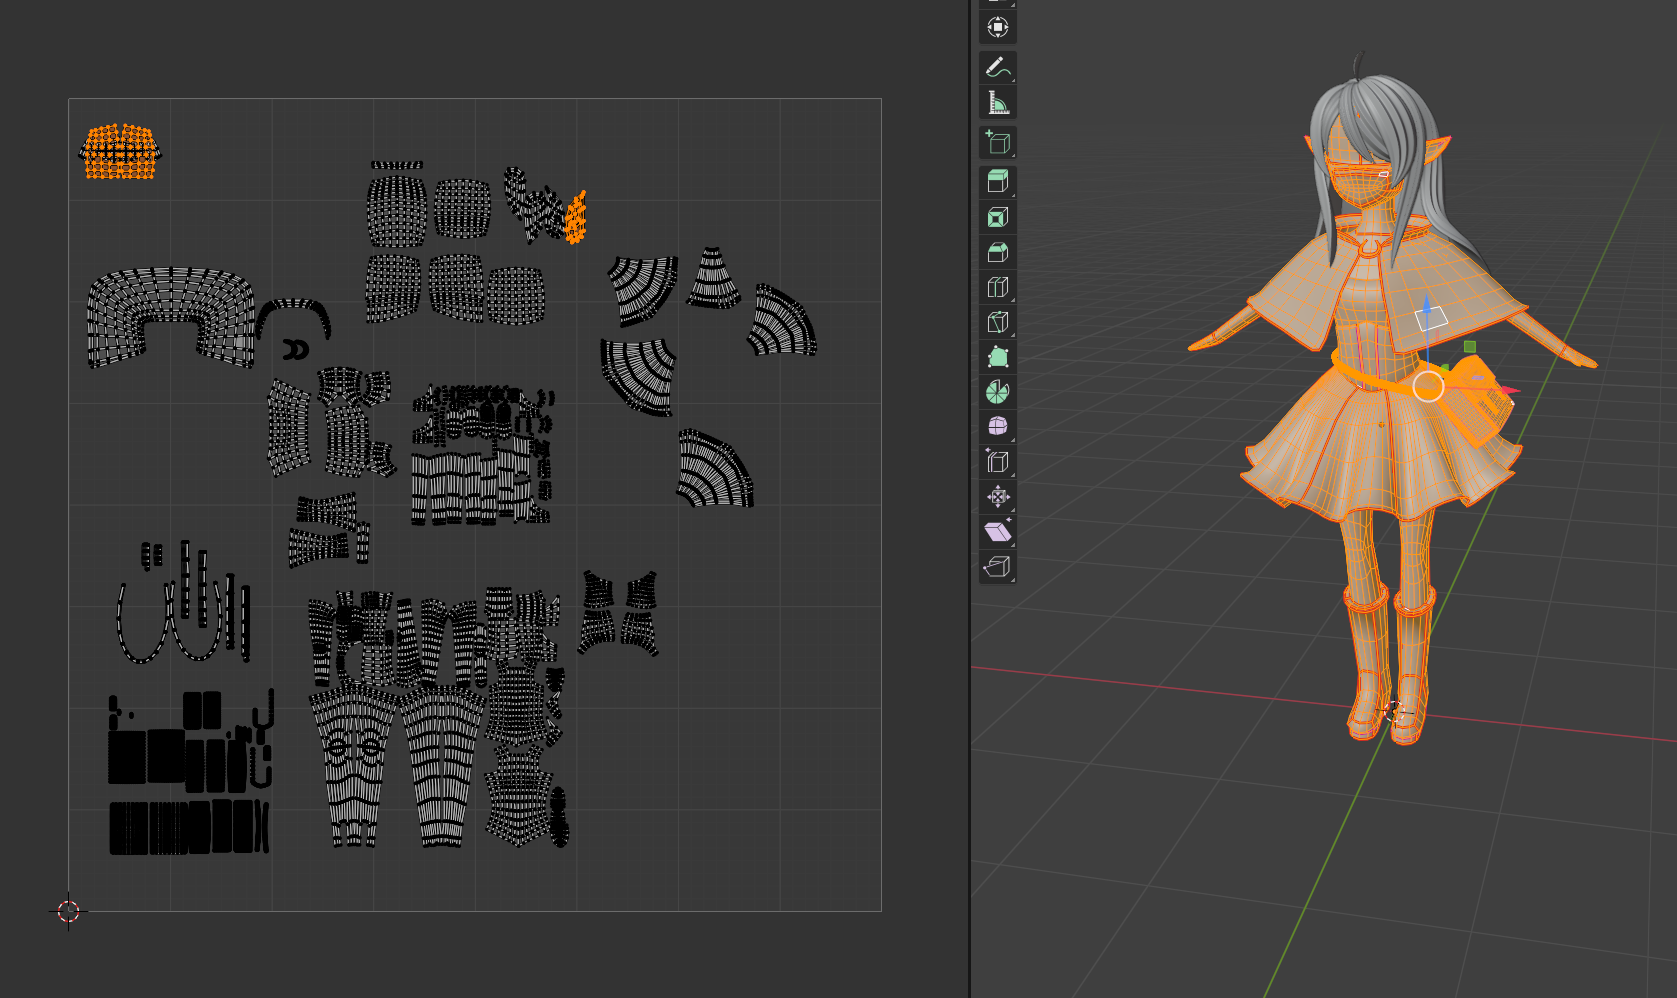
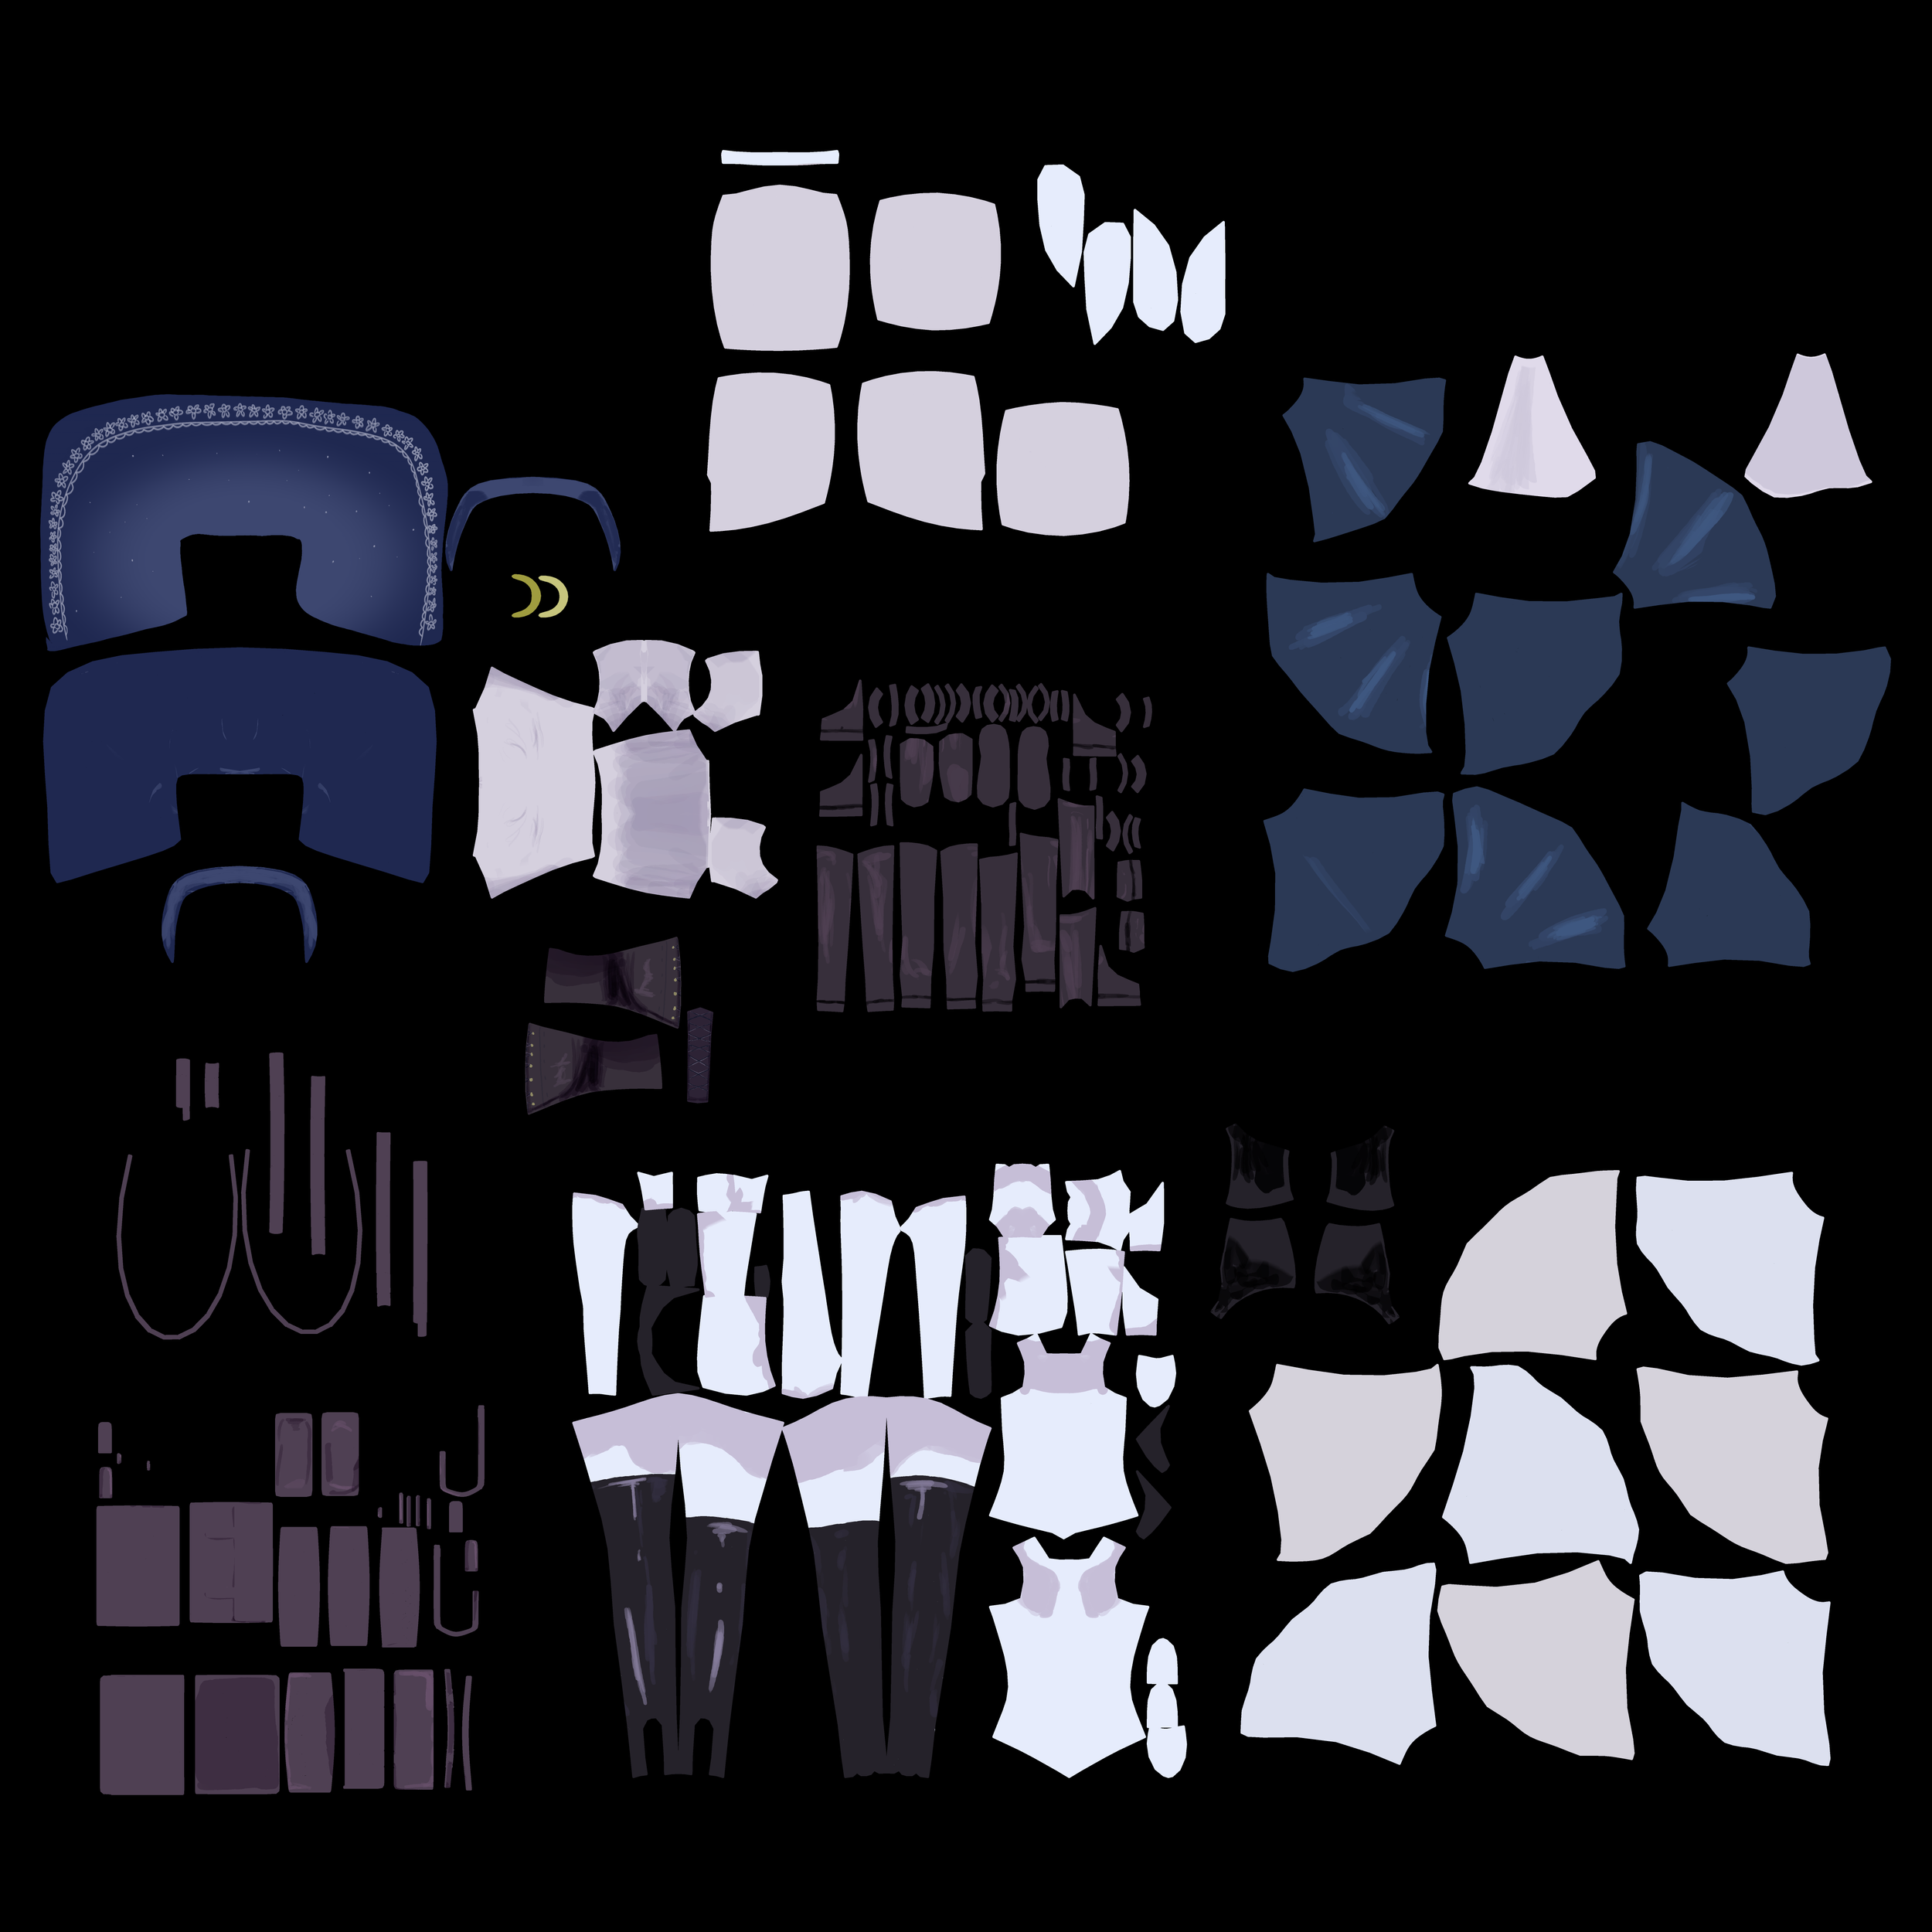
UV Editing and Texturing
This part was pretty fast. I mainly used the Smart UV Unwrapping for most of the model (besides the head), then separated the faces in certain areas of the UV plane. Afterwards, I went into the texturing/paint tool in each assets and roughly textured where each things would be. I then went into Clip Studio Paint to finish off some detailing that needed more attention rather than other areas.


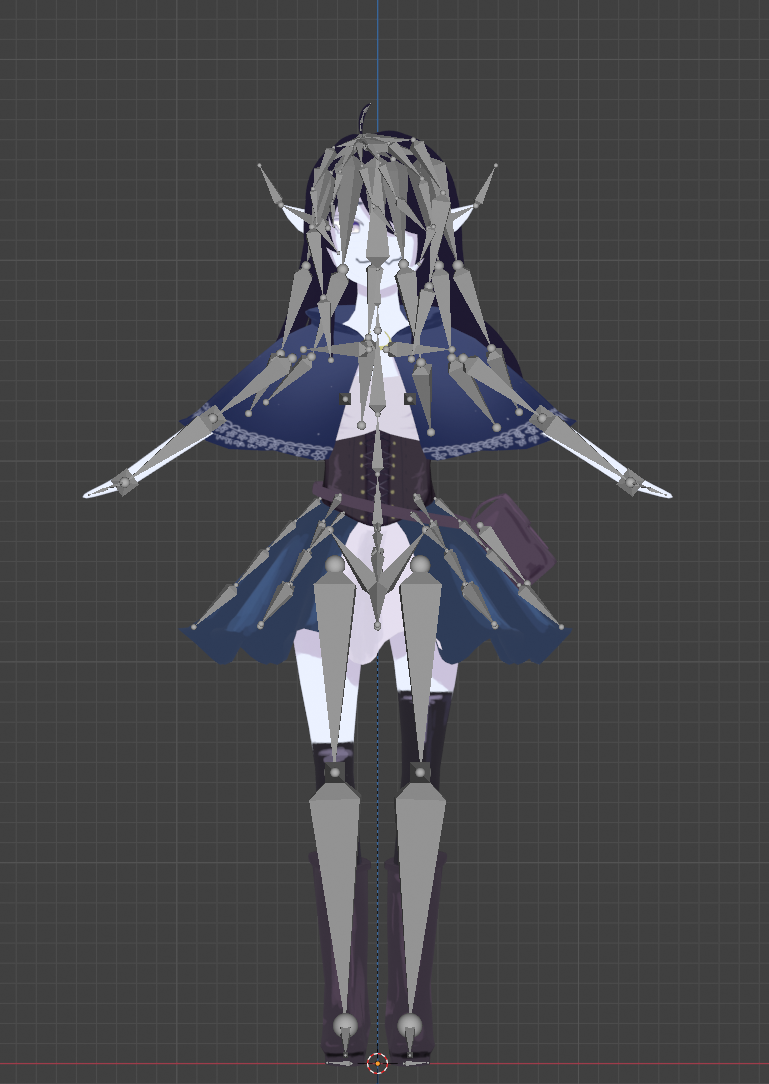
Part 3: Rigging
I was testing out the skeleton and rig for the model to make animating easier to do. It did make it easier as I will show in the next part but in the process I was suffering with rigging everything on where it should move on certain bones. I did a poor job at weight painting the model as I am not that skilled at it.


Part 4: Animation

This process was pretty fast despite it being a bit rushed. I first made an animatic to show what I will be making. This helped me to see how long I should make certain shots and how the character would move. I set the camera in certain shots to have a more cinematic view. I also made some images and assets larger, smaller, or skewed a little bit to give an illusion to the camera to fit the environment. Afterwards, I put all the sequences into Premiere Pro and put in audio from Pixabay to match the scene.